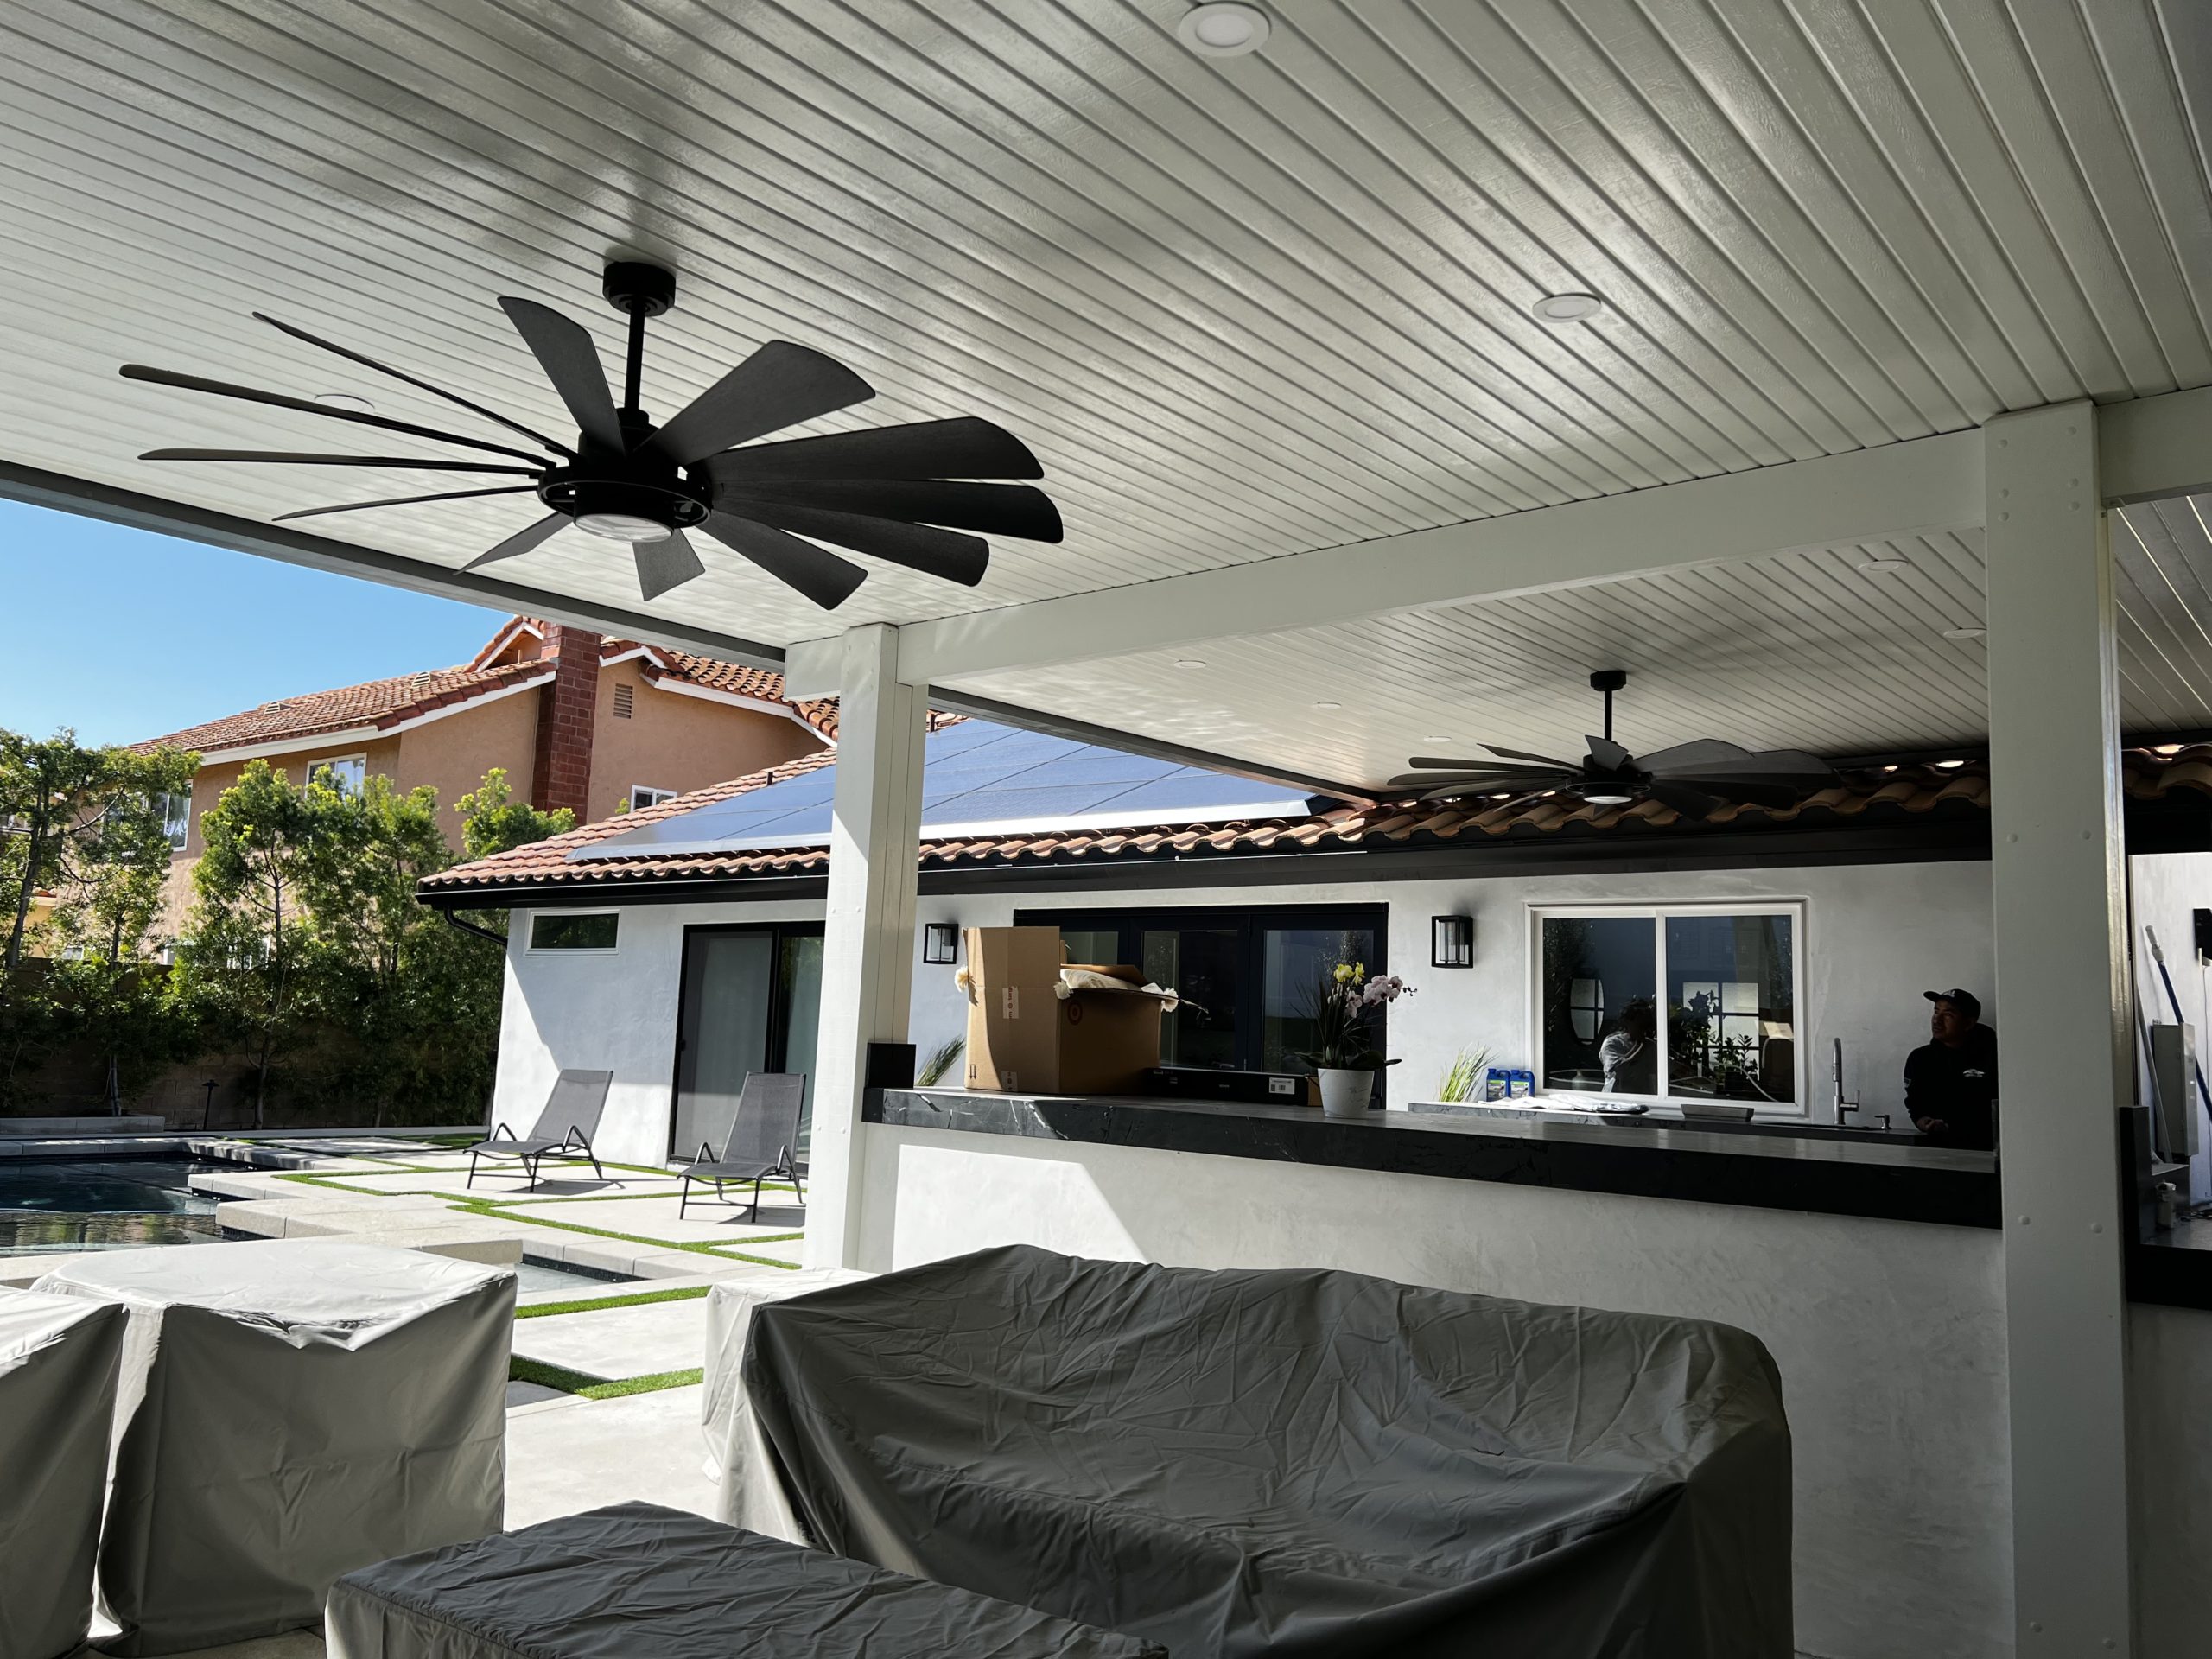
 Essential Considerations for Alumawood Patio Cover Design
When embarking on the design of your new Alumawood patio cover, it’s vital to adhere to these three fundamental principles that govern its attachment.
- Optimal Attachment Height and Placement
During your Alumawood patio cover’s design phase, keep these three essential attachment methods in mind, each adhering to specific principles that ensure a seamless integration:
a) Wall Attachment: Depending on the clearance and height specifications, a wall attachment is often the preferred choice. It offers stability and a cohesive connection to your home’s structure.
b) Fascia Attachment: In cases where the clearance allows, a fascia attachment can be employed. However, the size of your fascia plays a crucial role. A 2″ x 8″ beam is the minimum requirement for proper attachment strength. A 1″ x 6″ fascia doesn’t meet engineering standards and lacks the necessary robustness for attachment. Enhancing your existing fascia with a wood-filled ledger is a viable solution if necessary.
c) Roof Mount Ledger: The third option, a roof mount ledger, affords increased height beneath your patio cover. While this choice elevates the available space, it’s important to note that it has constraints on projections. For projections exceeding 14′, it’s advisable to consult a patio cover professional for potential redesign considerations. Aligning the patio cover’s height with that of the adjoining room’s ceiling is ideal, and occasionally, going even higher is feasible within reason. However, it’s recommended not to exceed the 9′ 6″ ceiling height.
These attachment guidelines ensure a structurally sound and harmonious Alumawood patio cover design that seamlessly integrates with your existing space.
